Part 2: Connecting to wallets
Before the application can interact with Tezos, you must connect to the user's wallet. Connecting to a wallet allows your application to get the address of the user's account, get information about the tokens in that account, and create transactions for the user to approve. Connecting to a wallet doesn't give the application direct control over an account, only the ability to send transactions to the wallet for the user to approve and sign.
To connect to a user's wallet, you use the Beacon toolkit, which is a standard interface for Tezos wallets.
However you design your app, you must use a single instance of the BeaconWallet object.
It is also highly recommended to use a single instance of the TezosToolkit object.
Creating multiple instances can cause problems in your app and with Taquito in general.
Because this sample application has only one page, it defines the TezosToolkit and BeaconWallet objects in the code of that page.
If your application has multiple pages, define these objects in a single file and re-use them on each page.
-
In the file
src/App.svelte, in the<script lang="ts">section, after the existing code, add this code to connect to the user's wallet and get basic information about it, including its address and balance in tez:let wallet;
let address;
let balance;
let statusMessage = "Connect your wallet.";
let buttonActive = false;
const connectWallet = async () => {
try {
const newWallet = new BeaconWallet({
name: "NFT app tutorial",
network: {
type: NetworkType.GHOSTNET,
},
});
await newWallet.requestPermissions();
address = await newWallet.getPKH();
const balanceMutez = await Tezos.tz.getBalance(address);
balance = balanceMutez.div(1000000).toFormat(2);
buttonActive = true;
statusMessage = "Wallet connected. Ready to mint NFTs.";
wallet = newWallet;
} catch (error) {
console.error("Error connecting wallet:", error);
}
};This
connectWalletfunction provides a name for the app, which appears in the wallet UI when it asks the user to allow the connection. It also includes the network to use, such as the Tezos main network or test network. When it is connected, it sets thebuttonActiveflag to true, which the UI will use to enable the button to create NFTs. -
After the
connectWalletfunction, add a function to disconnect the user's wallet:const disconnectWallet = () => {
wallet.client.clearActiveAccount();
statusMessage = "Connect your wallet.";
wallet = undefined;
buttonActive = false;
};The
disconnectWalletfunction runs these steps to disconnect the wallet and reset the state of the app:- It closes the connection to the Beacon SDK with the
wallet.client.clearActiveAccount()command. - It nullifies the wallet reference by setting the
walletvariable toundefined. - It deactivates the NFT button by setting the
buttonActiveflag to false.
- It closes the connection to the Beacon SDK with the
-
Update the
<main>block to have this code, which creates a button that the user can click to connect or disconnect their wallet:<main>
<h1>Simple NFT dApp</h1>
<div class="card">
{#if wallet}
<p>The address of the connected wallet is {address}.</p>
<p>Its balance in tez is {balance}.</p>
<button on:click={disconnectWallet}>Disconnect wallet</button>
{:else}
<button on:click={connectWallet}>Connect wallet</button>
{/if}
<p>{statusMessage}</p>
</div>
</main>Now you have functions that allow your application to connect and disconnect wallets.
Testing the wallet connection
Follow these steps to test that the application can connect to wallets:
-
Make sure that you have a wallet and some tez on the Ghostnet testnet in your account. See Installing and funding a wallet.
-
Start the application by running the command
npm run devin the folder that contains thepackage.jsonfile. -
Open the web application in a web browser at
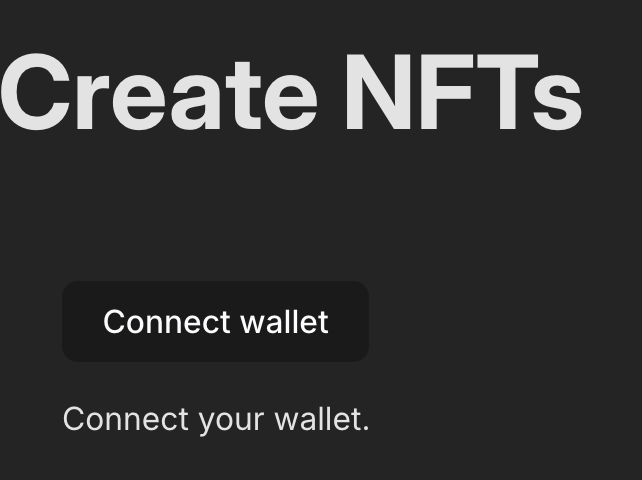
http://localhost:4000.The application shows the connection button and status message:

-
Click the Connect wallet button and follow the prompts to connect your wallet. The popup window can connect to wallet apps in your web browser or show a barcode to connect to a wallet app on a mobile device.
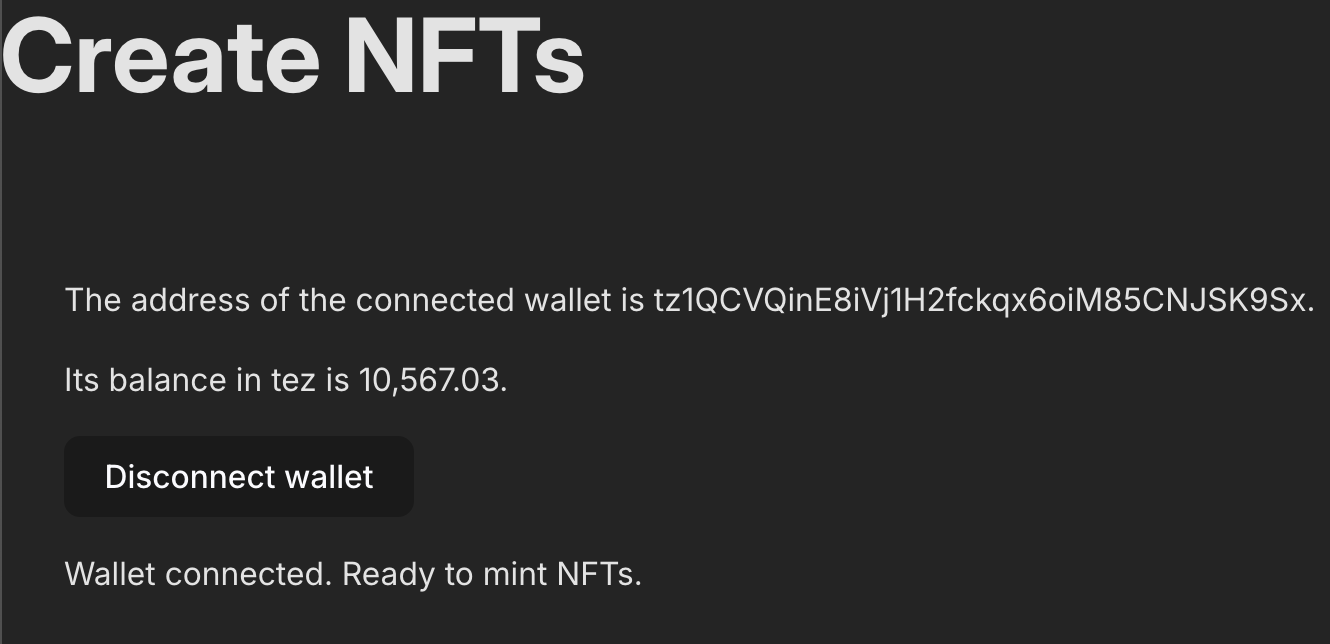
When the wallet connects successfully, the web application changes to show the connected account address and its balance in tez:

If the wallet doesn't connect correctly, make sure that your application matches the application at https://github.com/trilitech/tutorial-applications/tree/main/nft-consolidated/part-2.
-
Click the Disconnect wallet button and see that the wallet disconnects and the information disappears from the page.
Now your application can connect to wallets. In the next section, you create transactions for the user wallet to send to Tezos.
Design considerations
Interacting with a wallet in a decentralized application is a new paradigm for many developers and users. Follow these practices to make the process easier for users:
-
Let users manually connect their wallets instead of prompting users to connect their wallet immediately when the app loads. Getting a wallet pop-up window before the user can see the page is annoying. Also, users may hesitate to connect a wallet before they have had time to look at and trust the application, even though connecting the wallet is harmless.
-
Provide a prominent button to connect or disconnect wallets.
-
Put the button in a predictable position, typically at the top right or left corner of the interface.
-
Use Connect as the label for the button. Avoid words like "sync" because they can have different meanings in dApps.
-
Display the status of the wallet connection clearly in the UI. You can also add information about the wallet, including token balances and the connected network for the user's convenience. Showing information about the tokens and updating it after transactions allows the user to verify that the application is working properly.
-
Enable and disable functions of the application based on the status of the wallet connection. For example, if the wallet is not connected, disable buttons for transactions that require a wallet connection.